Starting your vegetable garden from seeds as opposed to buying planted starts is so much more economical and satisfying, plus it's easier than you think! I'll walk you through the steps that I take to create healthy vegetable starts that thrive once they're planted in the garden. No gardening experience is needed to create amazing results!
My Personal Experience
I never considered myself a good gardener until I moved to this property. I attempted to grow everything from a vegetable garden to houseplants with what I would consider fair results.
In the three years that I've been living on this ten acre piece of heaven, I have spent a ton of time researching, trying, failing, researching, modifying, and enjoying tremendous success.
My disclaimer is this: everyone's gardening journey will be different. The results will depend on your climate, the amount of time and energy you're willing to extend, how consistent you are, and there is always a huge amount of luck involved.
That being said, if you are determined to have a bountiful vegetable garden, I hope you find some of this information based on research and my own personal experience helpful.
Vegetables Starts vs Starting from Seed
There are pros and cons for both purchasing vegetable starts as well as starting from seeds.
I used to only purchase vegetable starts every spring. I didn't have a greenhouse or proper set up that would have enabled me to successfully start vegetables from seed. I also did not have a green thumb. Quite the opposite, actually.
The downside of buying vegetable starts is that it can be extremely costly, especially if you are planning a large vegetable garden. A single organic vegetable start like a tomato plant can start at $3 and go up from there. Starting a plant from a seed costs only pennies.
Also, if you're looking to grow a specific variety of plant, your choices are much more limited when buying starts versus starting from seeds which can be ordered and stored well in advance of planting season.
What to Grow and When to Start
Determining what you grow will largely depend on where you live and how much garden space you have. When to start depends on the plant as well as your zone.
What to Grow:
Begin with what you like to eat, costly plants (herbs), and vegetables that are absolutely best when they come straight from your garden (heirloom tomatoes).
What types of plants to start from seeds? I actually start all of my plants from seed. I haven't bought a vegetable start in years, however I will often make trades with friends around town.
When to Start:
Home gardeners can start vegetable and flower seedlings indoors from four to 12 weeks before the last average spring frost in their area.
The seed packets will tell you when to plant according to the frost date as well as whether you will need to start the seeds indoors or if you can add them directly to the ground. You can find the last and first frost dates for your region using the Farmer's Almanac.
For example, it's best to seed cool-season crops such as lettuce, cabbage, kale and broccoli in late February to early March. Likewise, warm-season crops such as tomatoes, peppers and eggplant should be sown in late March to early April.
Soil, Light and Water Considerations
All are extremely important when trying to grow plants from seed. If you don't have all three, it won't work.
Soil considerations:
A lot of people wonder if you can just use compost or dirt from your yard to start seeds. The answer is no.
Seeds need a very specific growing medium in order to thrive. It must be free of bacteria, disease and weed seeds, allow proper drainage but also hold moisture, and have enough nutrients to feed the plant.
There are a lot of choices when you go to the garden store, but I've been making my own mix that works extraordinarily well. It consists of equal parts potting soil, peat moss, and compost - all available for purchase by the bag. I add the same amount of each to a giant container and mix it well to eliminate any clumps.
Soil temperature is also a consideration. Different seeds will germinate at different temperatures and for most seeds, daily fluctuation to 60 F or lower at night is essential. A greenhouse is fantastic for harboring the sun's warmth on a normally chilly spring day. If you are starting your seeds indoors, you may need to place your plants on a seedling heat mat, which can be purchased at nurseries and garden supply stores. The mat will heat the seeding material to promote quick germination.
Light considerations:
It's important to have enough light. Either a very bright window or an artificial lighting system is required. Using a greenhouse is ideal, but I'm well aware most people don't have them. We were fortunate in that this house had one when we moved in!
Use high-input grow lights or standard shop lights with fluorescent bulbs. Position the lights about 2 inches above the flat and move the shop lights up as the seedlings start to grow.
Water considerations:
During this fragile time in the life of a plant, it's critical that seeds receive appropriate amounts of water, oxygen and light. To tell if the seeds are getting enough water, the growing medium should always feel damp to the touch just under the surface.
To properly germinate, seeds must remain moist but have extremely good drainage.
Some people choose to "prime" their seeds by soaking them in water for about 4 hours (not recommended for beans or corn). This convinces the seed that moisture conditions are okay and it's time to start absorbing all of that moisture.
Container Options
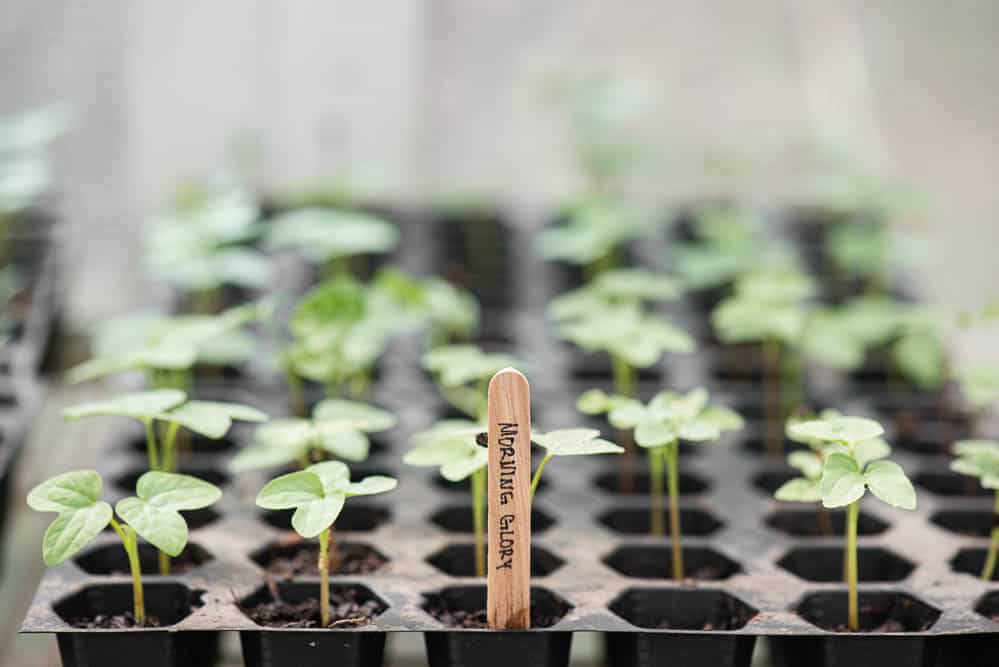
I have saved all of the vegetable start containers that I've purchased over the years and that is what I use. You can certainly buy kits or brand new containers as well.
Ceramic pots work, but I prefer a flexible material so that the vegetable start is easier to squeeze out and transplant.
If you are concerned about bacteria from previous plants, you can sterilize the containers with a solution of diluted bleach water (1 part bleach to 9 parts water).
Another great idea is to reuse plastic yogurt containers or those clear clam shells containers that cannot be recycled. Just be sure to poke a sufficient amount of holes in the bottom to allow for proper drainage.
It is possible to grow seedlings in biodegradable pots fashioned out of newspaper or eggshell cartons, but the material takes a long time to break down in the soil if transplanted with the plant. This may prohibit root growth.
My Process Start to Finish
Your process may be completely different based on where you live and what you have available, but knowing how I grow my vegetable garden from seeds might be helpful.
I have a large walk-in greenhouse with clear panels on the walls and ceiling so there is abundant light. The greenhouse also retains a lot of heat and moisture but has the ability to auto-vent should it get too hot, so it really is an ideal location for me to start my seeds.
Seed selection:
I have ordered seed packets online, purchased from the store, and have obtained seeds through a seed exchange at our local library. My preference is for organic heirloom varieties. Leftover seeds need to be stored in a cool dry location away from direct sunlight.
Plants that I always start in the greenhouse before the last frost of spring include tomatoes, peppers, melons, pumpkins, leeks, cabbage, broccoli, onions, squash, artichokes, and annual flowers like Morning Glory.
Plants that I plant directly in my raised beds or in the rows in the ground include peas, beans, kale, radish, spinach, beets, chard (before last freeze) as well as corn, sunflowers, potatoes, and sometimes summer squash (after last freeze).
Planting seeds:
I fill all of my containers full of the growing medium which is equal parts potting soil, peat moss, and compost. Prior to adding the seeds, I water the growing medium. I find that placing seeds on a moist surface prevents them from moving around as much when watered.
If the seeds are extremely small (cabbage, broccoli, etc.), I will carefully sprinkle them on the surface and will then cover them with more growing medium. If the seeds are larger, I will place them vertically directly into the growing medium at least a half an inch deep.
If you are using seeds where you want to control the number of plants (tomatoes, peppers, etc.), I will carefully only place 1-3 seeds per container knowing that they will need to be split into their own containers once they have grown.
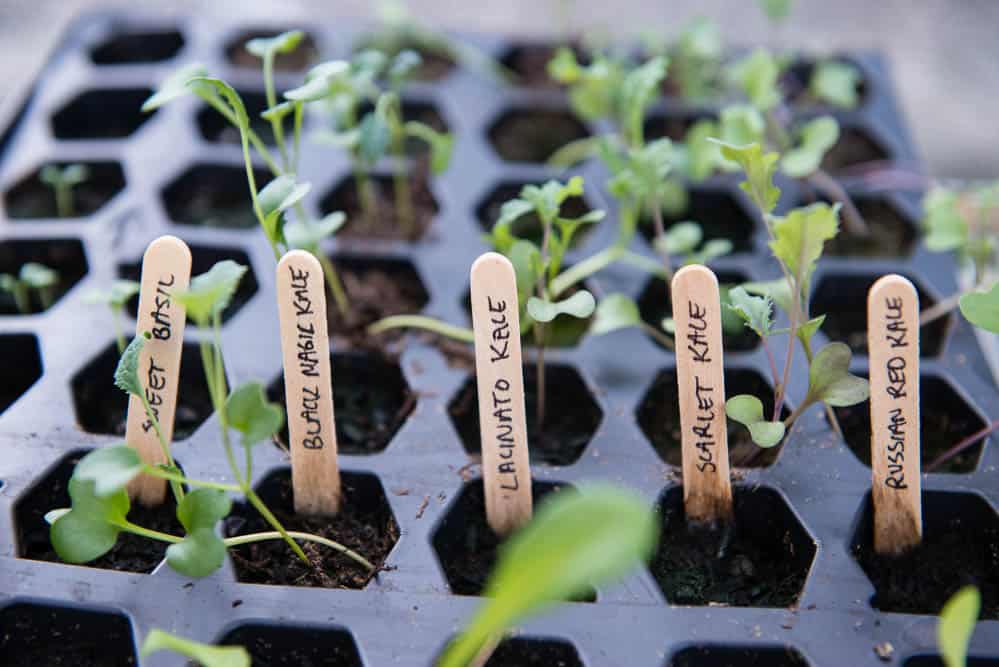
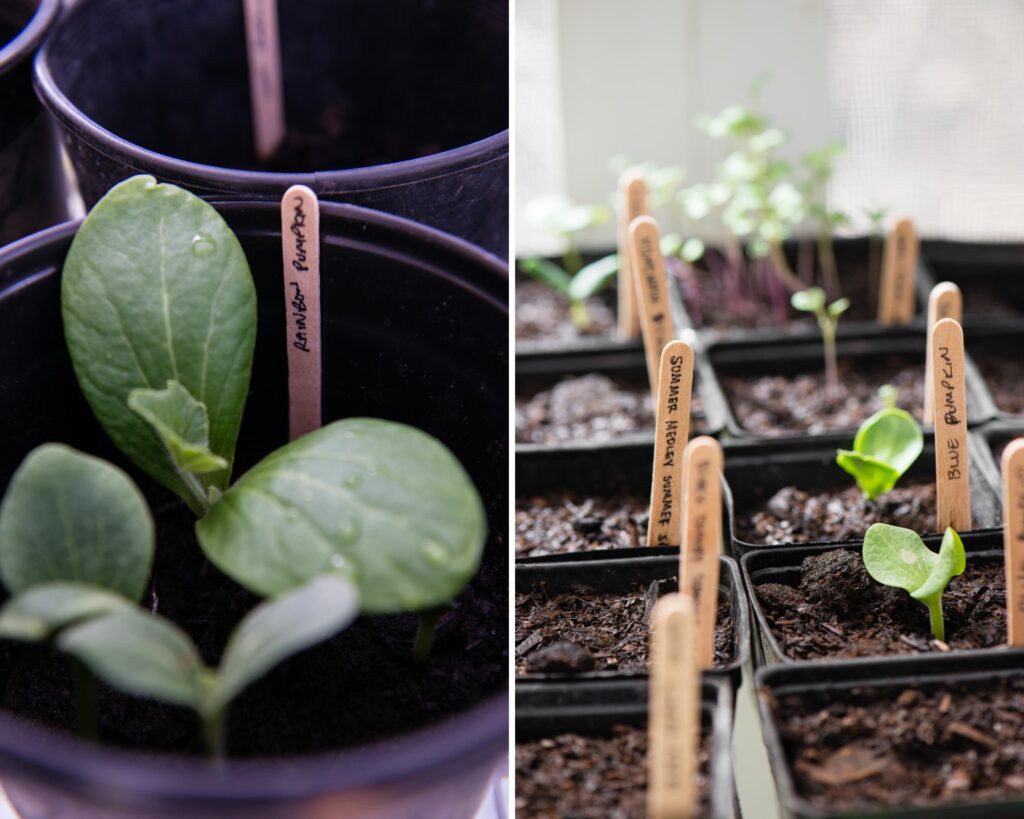
Pro tip: Use wooden popsicle sticks and a fine point sharpie to label your plants.
I will water my seeds daily. I don't worry about over watering them because the containers drain well and they are never sitting in pooled water.
Transplanting:
Your plants will be ready to transplant when they are strong and have established leaf growth.
If you planted your seeds in very small containers or planted multiple seeds per container, or some plants like tomatoes and melons should be "stepped up" from flats into a 4-inch pot and then potentially into a gallon-size pot prior to transplanting.
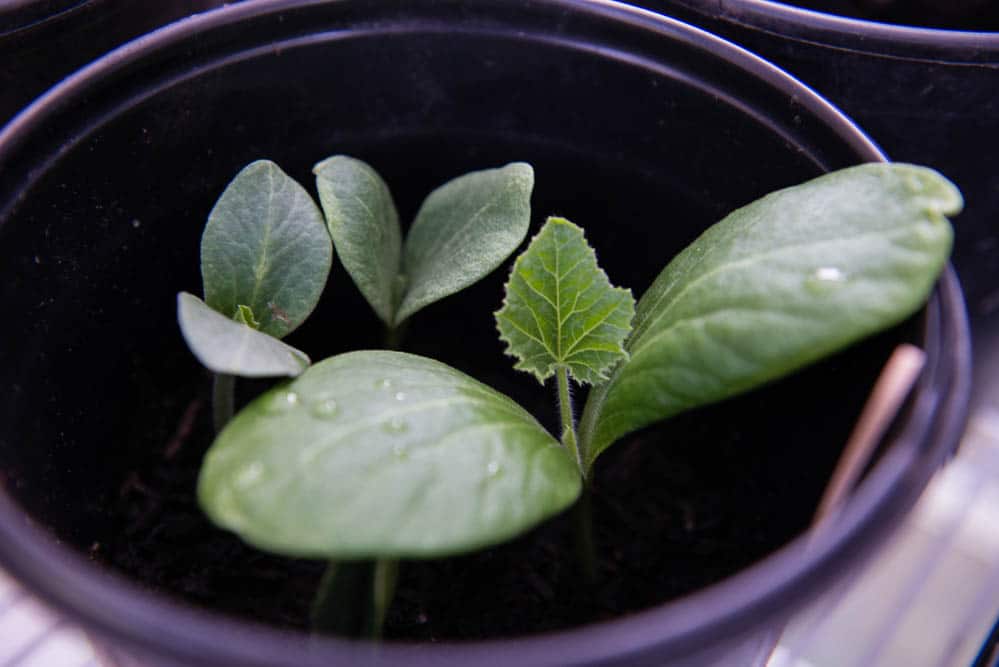
Most plants will sprout two seed leaves first as they emerge from the soil before they start growing their true leaves which look different from the original seed leaves. Before you transplant, make sure that the plant has at least 4 true leaves.
Both annuals and perennials can be transplanted when they are large enough to handle.
Did you find this post helpful? Do you have any questions? Let me know in the comments below!
Follow me on Pinterest, Instagram, and Facebook!
How to Start a Vegetable Garden from Seed
Supplies Needed:
- 25 vegetable start containers They must have holes in the bottom for proper drainage.
- 25 cups soil mix I recommend equal parts potting soil, peet moss, compost
- 50 vegetable seeds
Instructions
- Feel each container almost full with the soil mixture. Keep in mind that it will compress as it gets watered. I recommend watering the soil prior to adding the seeds because it helps keep the seeds right where you want them.
- For extremely small seeds (cabbage, tomatoes, etc.), I will carefully sprinkle them on top of the soil and then add more soil on top to cover them. For the larger seeds (pumpkin, zucchini, etc.) I will push them down vertically into the soil until the top of the seed is at least a half an inch below the top level of the soil.
- Label each container with the plant name. I find that wooden popsicle sticks and a fine point sharpie work best.
- Ensure the seeds are kept in a bright and warm location. They must remain moist to sprout, so water them daily.
- Once there is more growth beyond the first set of leaves, the starts can be separated and replanted into a larger container, if needed, prior to planting into the ground or your raised beds.

Leave a Reply