Kombucha tea is easy to make at home with a sugar tea blend and a scoby. Here's everything you need to know to get started with home kombucha brewing!
I've spent a couple years learning from friends and online. I've made many batches - some great, some not-so-great. I've had a lot of successes and made a lot of mistakes. If you've ever wondered how to make home brewed Kombucha, I'll tell you everything you need to know to get started!
What is it?
First things first. By now most everyone has heard of Kombucha. Especially if you live in the Pacific Northwest where it's basically on tap wherever you go.
Kombucha is basically a sweet tea that has been fermented. The fermentation process occurs over time with the addition of a SCOBY (more on that later). It tastes sweet yet slightly sour and tangy and has a vinegar aroma. It is lightly effervescent and refreshing. Most people drink kombucha for what they consider the heath benefits which mainly include probiotics and heathy bacteria that your gut really likes.
Making it at home is really easy and if you follow my recommendations and learn from my mistakes, you'll have success every time!
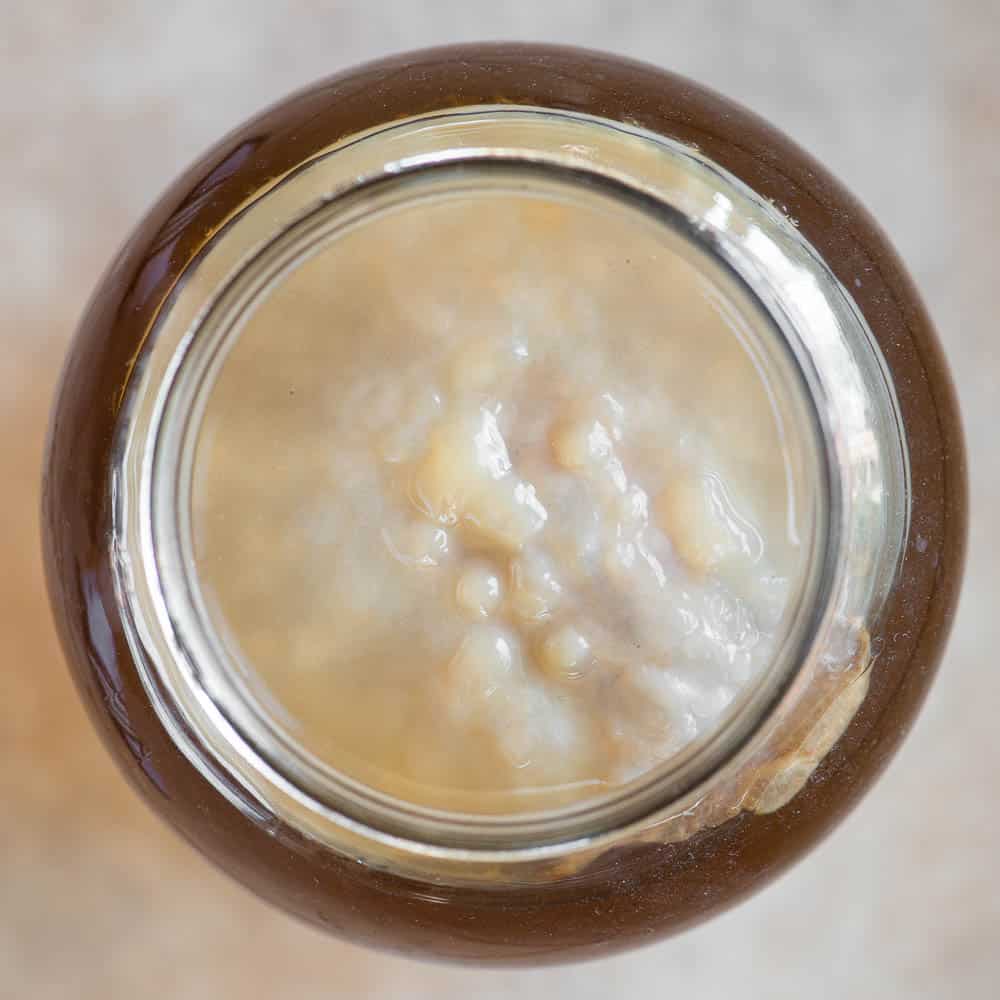
What on earth is a SCOBY?
It's a acronym for symbiotic culture of bacteria and yeast. Not gonna lie - it looks and feels kind of nasty. It's a little bit slimy but mostly firm and pliable. The color is similar to that of creamed honey.
You can get a SCOBY online but I prefer the method of finding a kombucha friend . You see, every time you make a batch, you add a SCOBY but another one grows. If you are a serial kombucha maker, you'll soon enough have more SCOBY than you know what to do with and you're happy to give it away to fuel other people's kombucha making habits.
Most people keep their SCOBY always working. They make one big batch of kombucha and get another one started as soon as the first one is done. If you need to take a break but don't want your SCOBY to die, simply leave it in a jar with some kombucha and additional sugar for it to eat. Then just be sure to keep it covered with a flat bottomed paper coffee filter and secured with a rubber band to keep it clean but breathable.
Your SCOBY is alive and you need to treat it like a living organism. Never transfer it to a hot batch of tea, never starve it, and never let it suffocate.
What kind of tea?
I started off making kombucha with green tea from a SCOBY that was used in a black tea kombucha. It never properly fermented. I discovered that not only does black tea ferment better than green tea, but your SCOBY likes to be consistent.
From then on, I started making it with half black tea and half green tea. I just prefer the flavor it creates and now my SCOBY is happy.
The type of tea isn't all that important, but I buy organic and make sure it's just straight up black and green tea with no added flavors.
How I make kombucha:
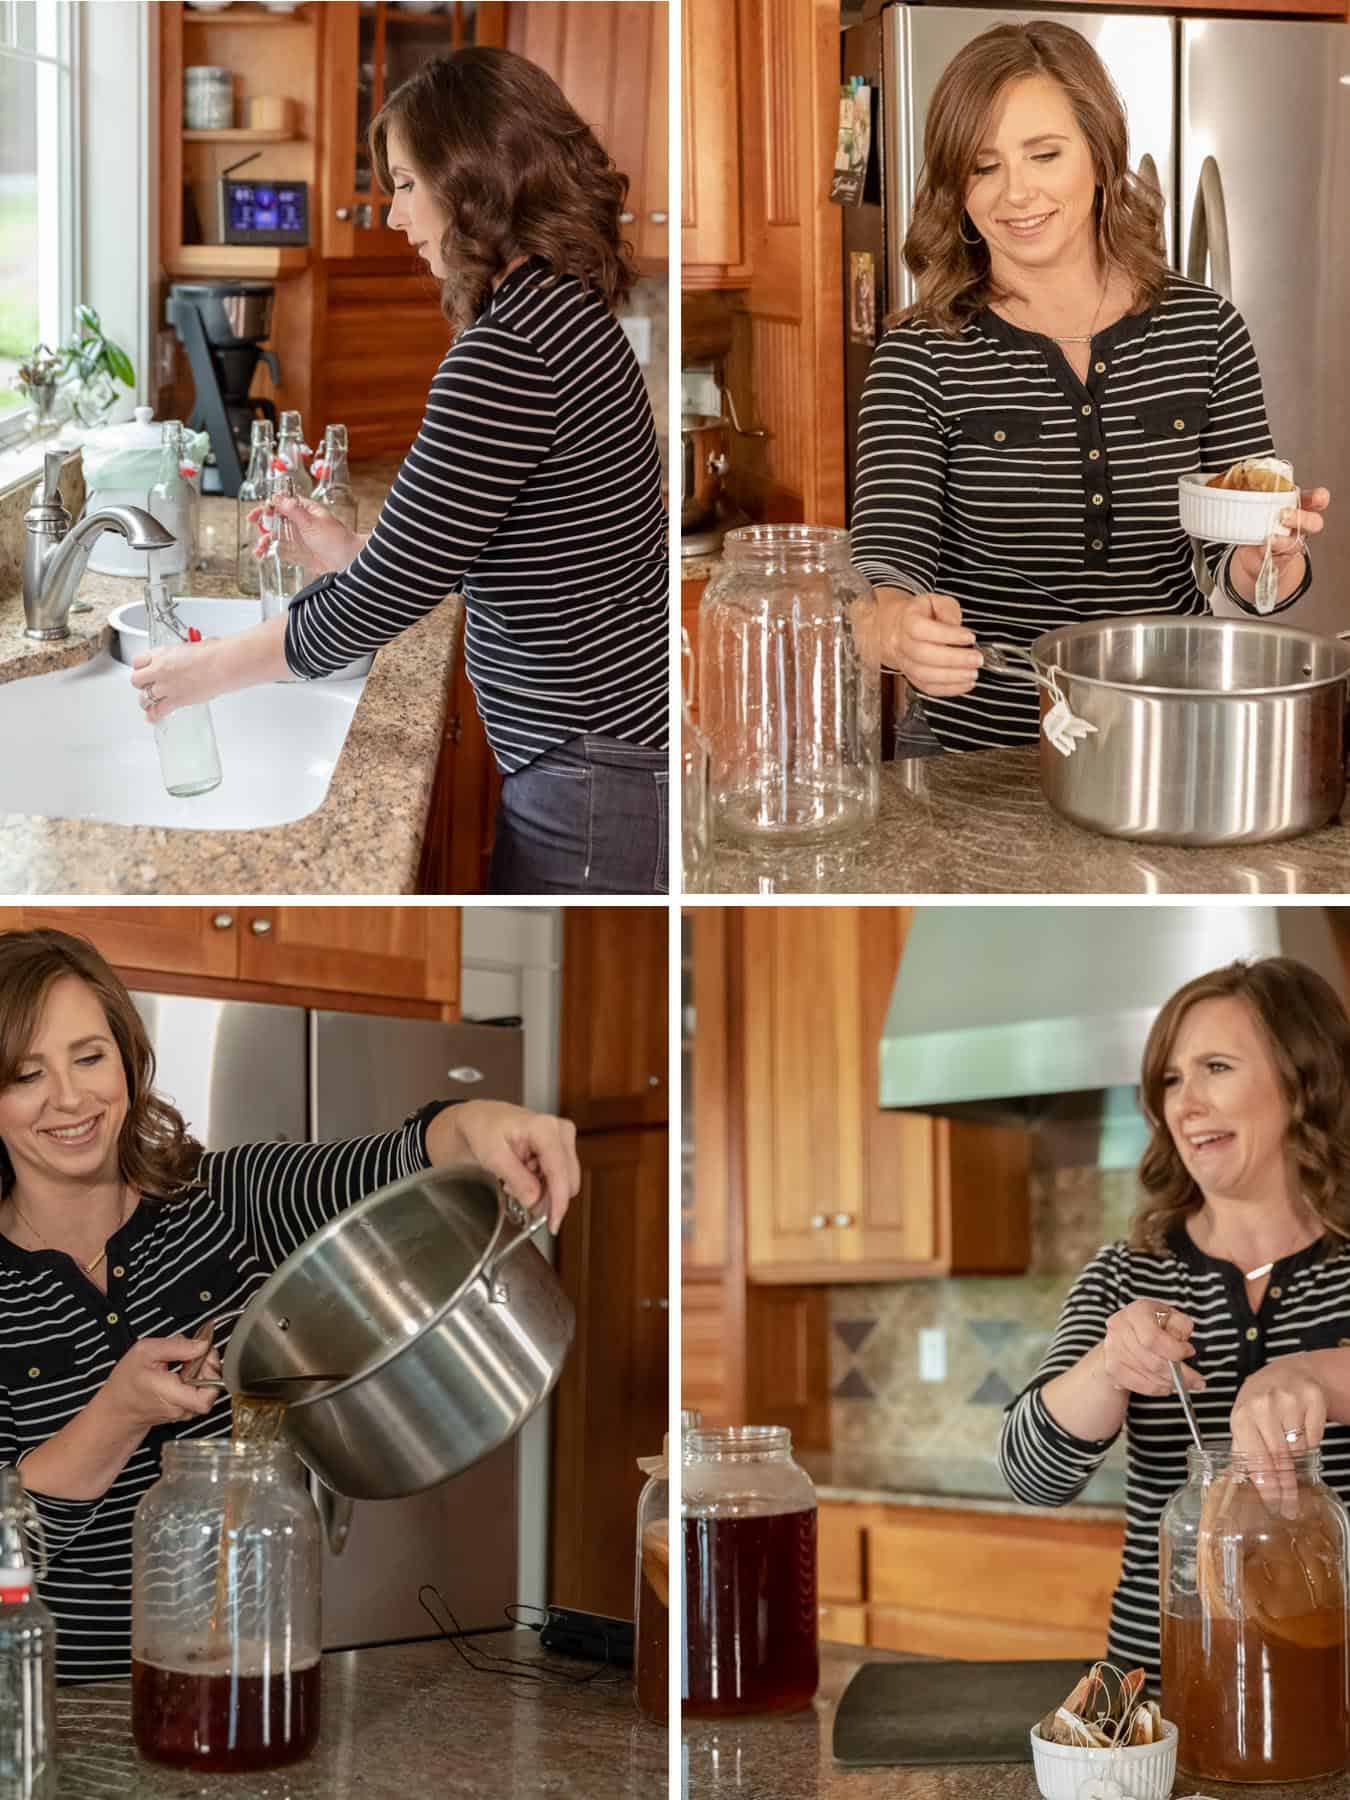
- Start by boiling the water on the stove. Since I make my kombucha in a gallon size glass jar, I use about 15 cups of water. Then I use an instant read thermometer to make sure I brew the tea at the optimal temperature.
- Once the tea is done, I add the sugar and allow it to dissolve by swirling the pot. Some people add more sugar than I do but I find the amount listed in my recipe works perfectly well. If I can stop myself from drinking this warm sweet tea, I transfer it to the sterile jar, cover it with the paper coffee filter, and let it get to room temperature.
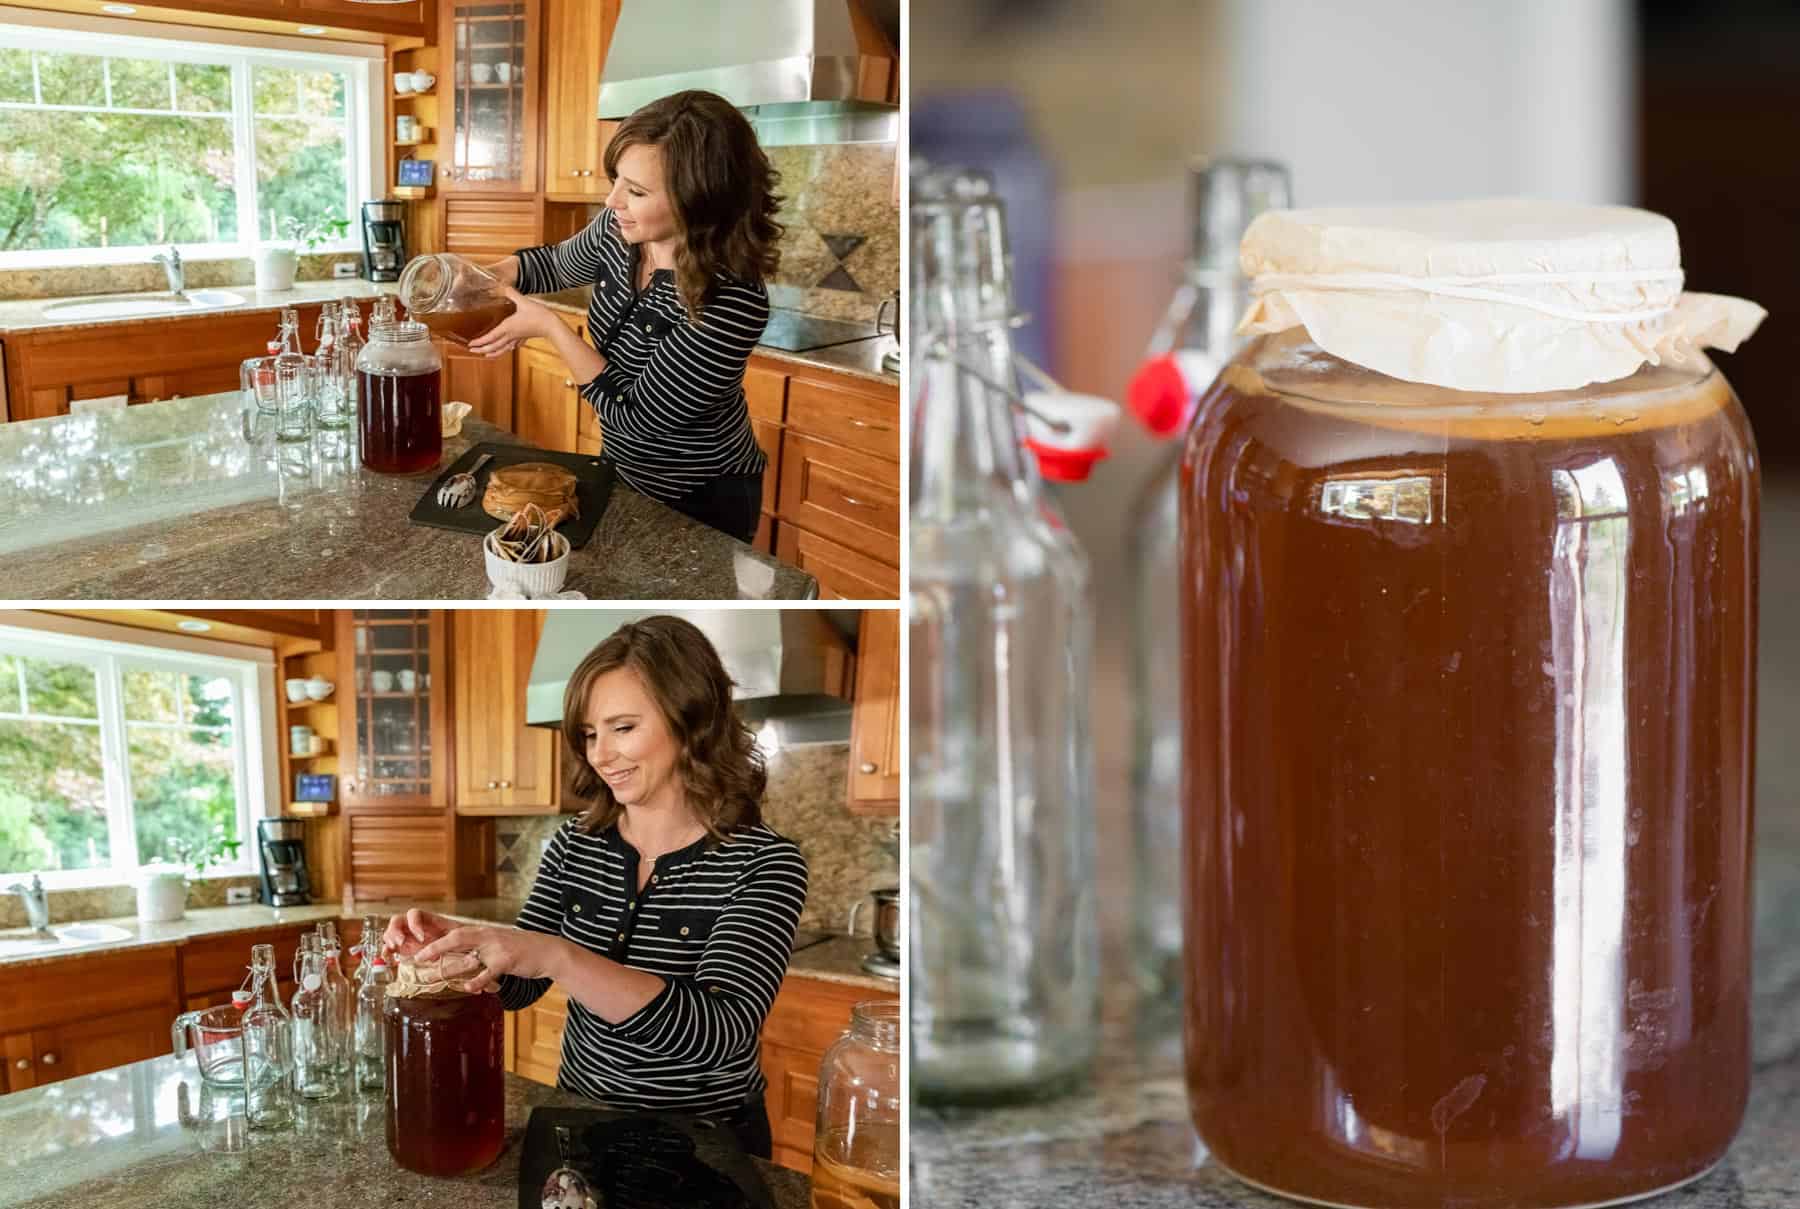
- Once the sweet tea is at the same temperature as your SCOBY, slide that thick disk of healthy bacteria right in there. If you have room in your jar and extra kombucha from the SCOBY container, add that too.
- Now, all you need to do is cover it once again and wait. I store mine in my laundry room because it's out of direct sunlight. Plus, since I'm in there often, I can routinely check on it. You'll be able to smell when it's done and don't be afraid to taste it!
Safety first:
You might be scared to make your own kombucha. I was.
It wasn't until I had a batch go bad and I saw mold that I realized it was really easy to see the difference between a healthy batch of kombucha and one you need to throw away.
I always sterilize my glass in the dishwasher and boil my water for at least five minutes before I add the tea bags. I wash my hands thoroughly and frequently, especially when handling the SCOBY. At the first sign of any mold, the whole batch gets tossed.
I've also found that covering it with a paper filter versus cheesecloth works wonders with respect to keeping it clean. I learned the hard way with that one.
Bottom line - just use common sense. If it smells funky, and by that I mean not like vinegar or tea, get rid of it. If you see anything black or fuzzy growing on the SCOBY, get rid of it. Trust your gut, because you're making it to please your gut, after all.
Go the extra mile with some fruit.
I'm actually perfectly content drinking my homemade kombucha right out of the big jar. If you want to add a little extra flavor, color, and some bubbles, you'll need to go a step further.
People like to add fresh cut fruit like berries or even fruit juices like pineapple to give it more flavor. The additional sugar can also speed up the fermentation process.
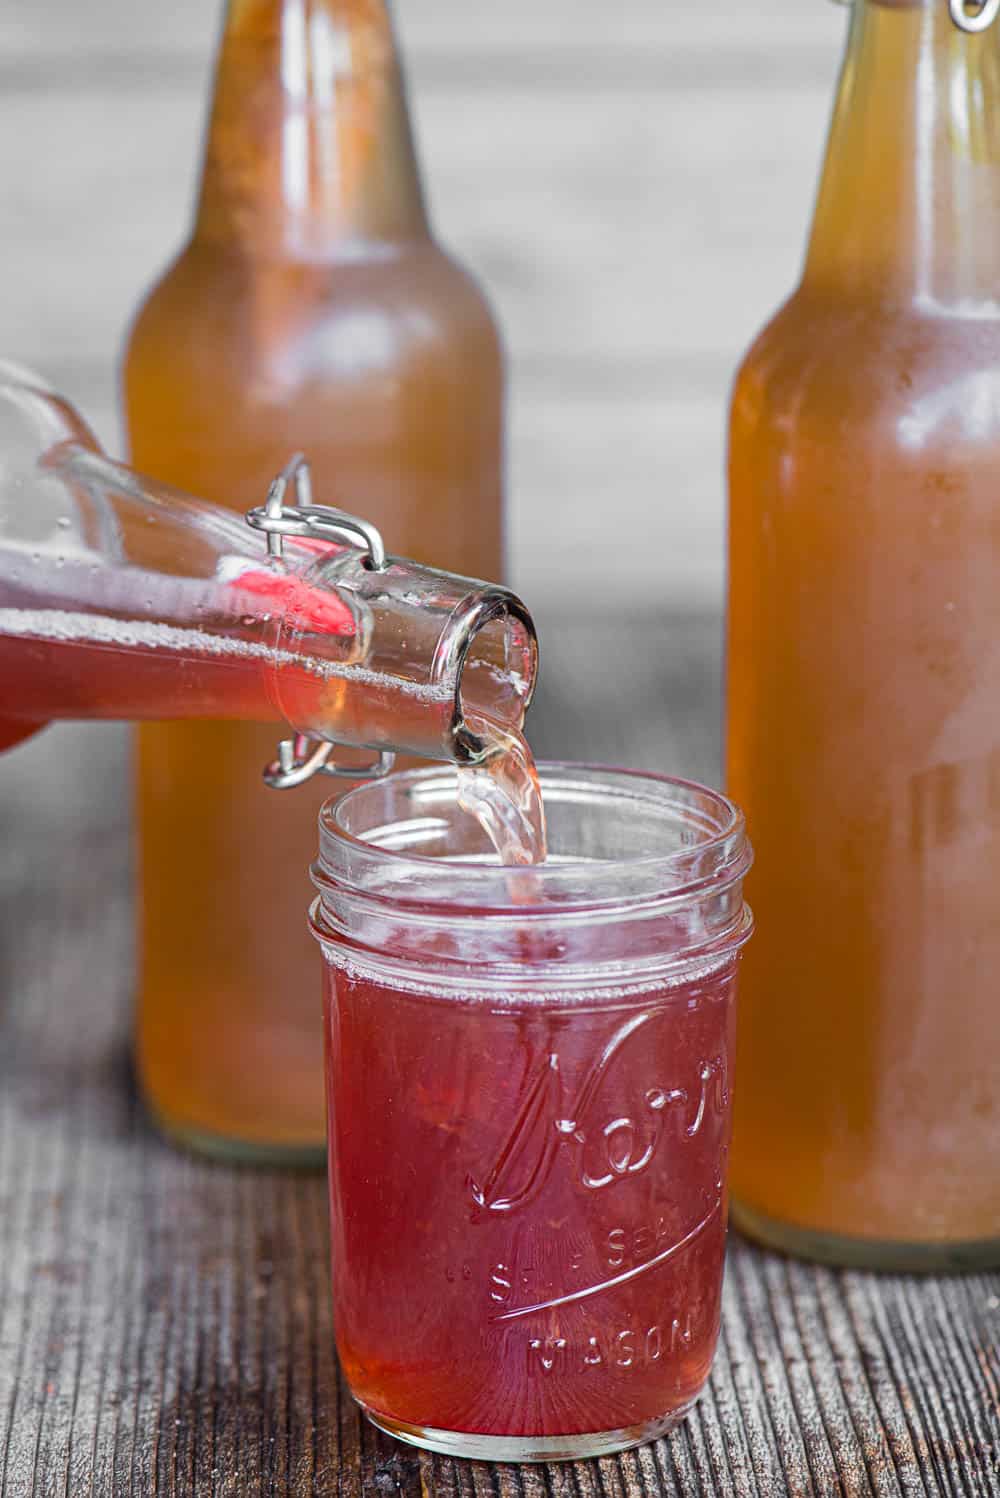
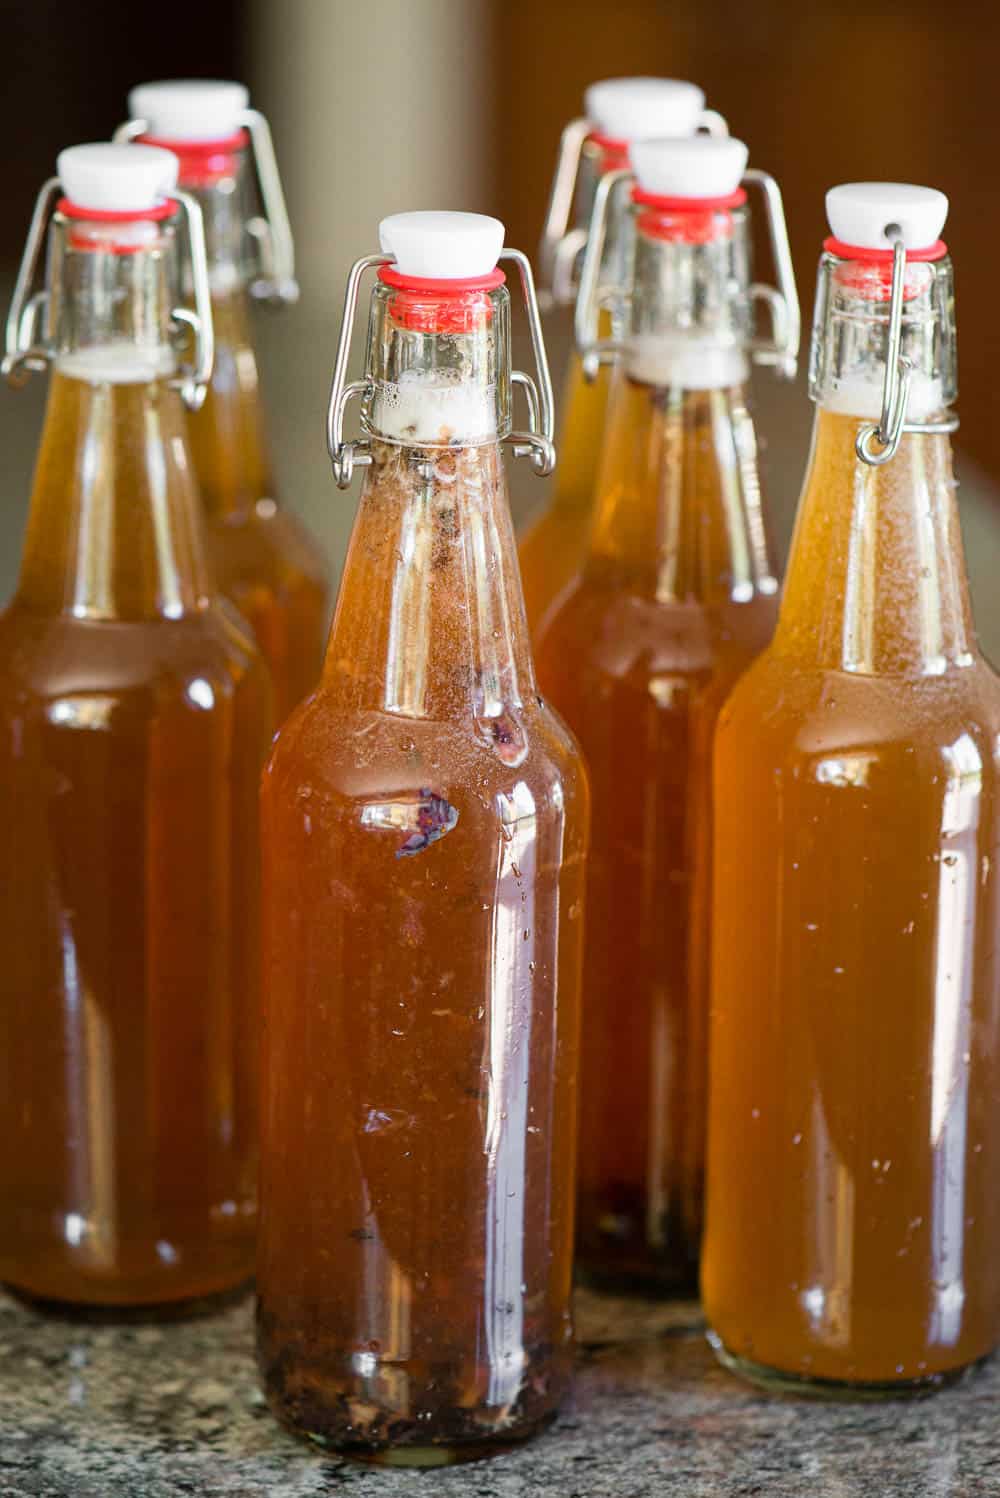
Sometimes my original batch is quite effervescent, but in order to make it more bubbly, you'll need to bottle it, cap it, and wait another 1-3 days. I can usually tell when it's done by giving it a swirl and watching the bubbles race to the top, but don't be afraid to pop one open and give it a taste.
Once it has reached the desired level you want to reach, store them in the refrigerator to drastically slow the fermentation process.
Let me know if you have any questions! By all means, I'm no expert, but I know more than someone who's never made the stuff.
Kombucha
Equipment
- Flat Bottom Paper Coffee Filter
- Large Rubber Band
Ingredients
- 15 cups water
- 7 black tea bags
- 7 green tea bags
- 1 cup sugar
- 1 SCOBY see notes
- ½ cup kombucha optional, see notes
- 1 cup berries or other fresh fruit, optional
Instructions
First fermentation:
- Run glass jar through dishwasher without soap to sanitize.
- Heat water to a boil and allow to boil for at least 5 minutes. Remove from heat. Once water cools to 200 degrees F, add black tea bags and let steep for about 5 minutes total. Concurrently, when liquid cools to 180 degrees F, add green tea bags and let those steep for about 3 minutes total. Discard tea bags when the tea is done brewing.
- Add sugar and swirl to mix. It should dissolve easily. Once the sugar has fully dissolved, transfer sweet tea to sterile gallon sized jar. Cover with paper coffee filter and secure with rubber band. Allow to come to room temperature.
- Once the sweet tea has cooled to the same room temperature that your scoby is at, add scoby to the sweet tea. If homemade or store bought kombucha is available, add it to the mixture to speed up the process. Cover with paper filter again and secure with rubber band. Store in an area at room temperature away from direct sunlight.
- Time required to fully brew kombucha will depend on the temperature of your home as well as the strength of the scoby and/or kombucha that you added. You can tell when it's done by the smell, small effervescent bubbles will appear when swirled, and the taste will be sweet but vinegar-like. At this point you can enjoy or move onto the next step which will create more bubbles.
Second fermentation:
- Sterilize swing top glass bottles in dishwasher without soap. Fill bottles with kombucha. If not adding fruit, leave about ½ inch head room. If adding fruit, you can add it to the bottle first and then top with kombucha, leaving about ½ inch head room. Secure tops and store capped bottles at room temperature for 1-3 days. Again, the amount of bubbles you produce will depend on the temperature and the strength of the tea. If you're a beginner, I recommend checking on it daily to ensure the pressure doesn't build up too much.
- When the kombucha has reached a level that you're pleased with, transfer to refrigerator and chill until you're ready to consume.
Kylee
I just read this entire post and Im pretty proud of you for holding my interest!
Totally want to make this myself, now. Shame we don't live close so I can get some SCOBY from tou!
Krissy
Ah, You're too sweet. It's a shame we don't live closer for many reasons!
AWinters
Sterilization is not necessary. Nor is boiling the water (unless it’s from a source that you can’t trust.) Even if you boil/heat the containers and water, the tea bags and sugar, and most likely your measuring tools, aren't sterile. No dishwasher at my house, and I’ve been making kombucha for a year without any problems. I have lots of other cultures in my kitchen—lots of experience—and my hubby is a microbiologist, so I have an in-house consultant.
Remember all theses traditional cultures have been around longer than our knowledge of microbes and sterilization. Starting with a beneficial culture outcompetes any bad microbes. Adding some kombucha back lowers the pH, further preventing bad bugs from growing.